|
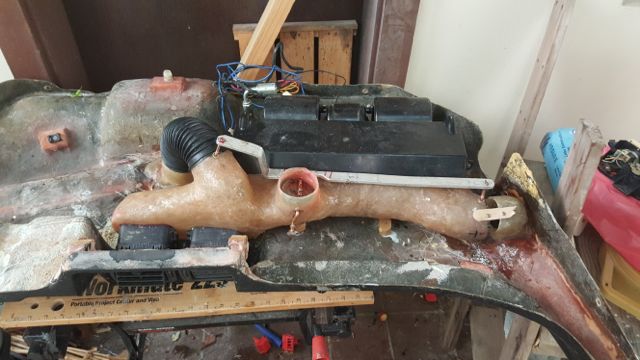
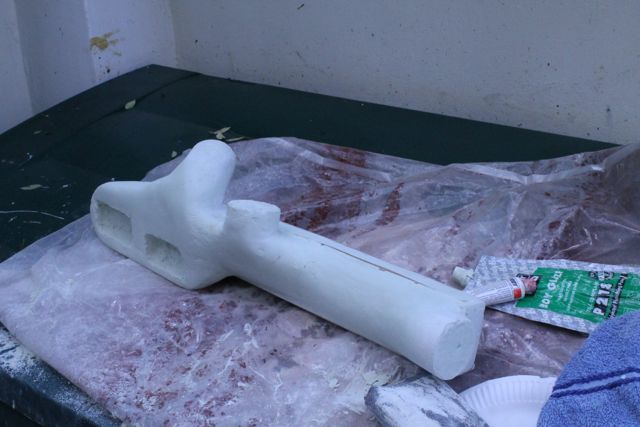
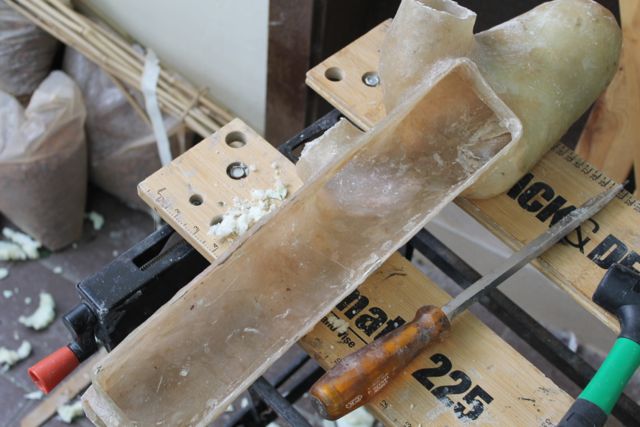
My aircon / heaters plenum chamber that came with it had the outlets in the wrong places for my air ducting. Furthermore the close proximity of the central vents meant that bending ducting around would have meant the angles were too tight and possibly compromise the airflow and I wanted lots of airflow to the 2 central air vents. So having been inspired by Brett Proctors work on the sterling site using PU foam to form bucks I thought I would have a go. I used 2 part PU foam to expand to the basic shape and then carved / sanded it to the shape I wanted. I then used normal car body filler to cover the foam once I was happy with it. In this shot I have started to put body filler on one end even though I was still shaping the other end (basically experimenting). Oh yeah, the shots are with the dashboard upside down, with little blocks of wood that are supposed to position the heater / aircon unit where it would be once mounted in the car......and if I got that bit wrong then I'm going to have a lot of rework to do later!
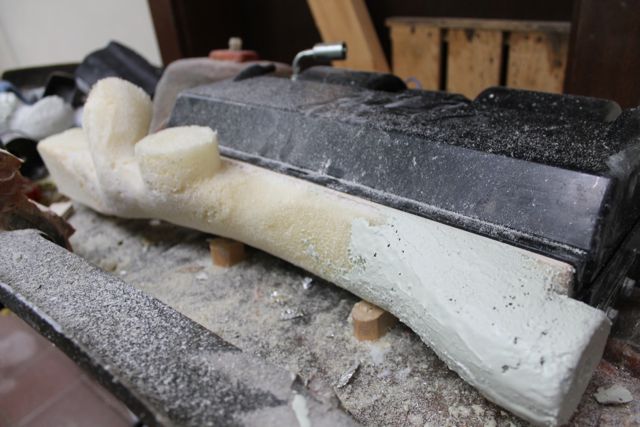
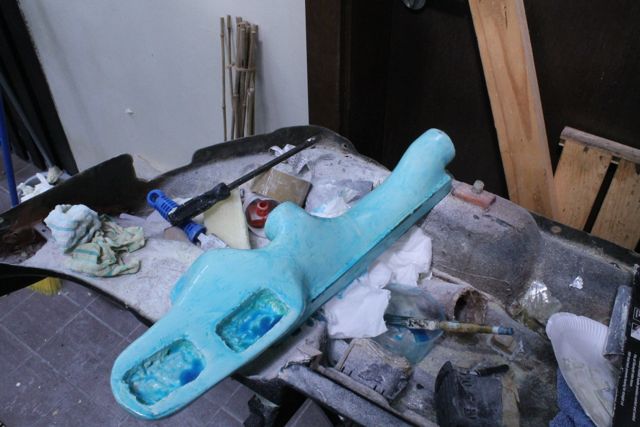
I made a wooden frame for the front section that mounts inside the heater to ensure it fitted correctly once glassed over. Once all the shaping was done I added 2 mm thick baton to this front edge to match the aperture exactly, so that once it had fiber glass laid over it, it would tightly slip over the outer edge of the heater outlet and form a good seal.
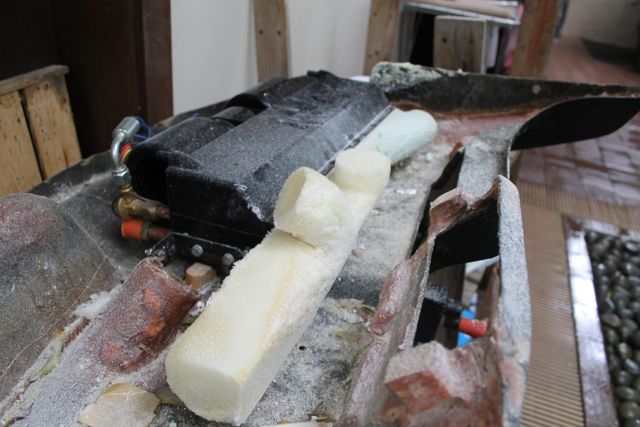
I applied mold release wax and 2 coats of PVA release agent, followed by fibreglass
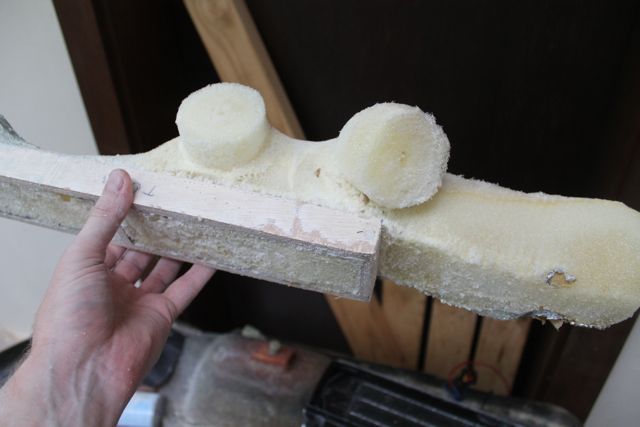
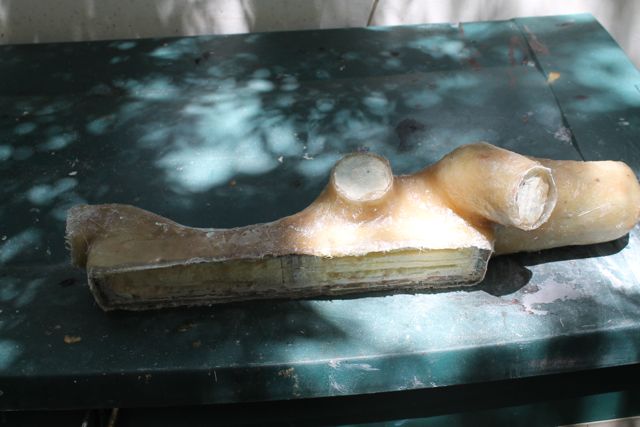
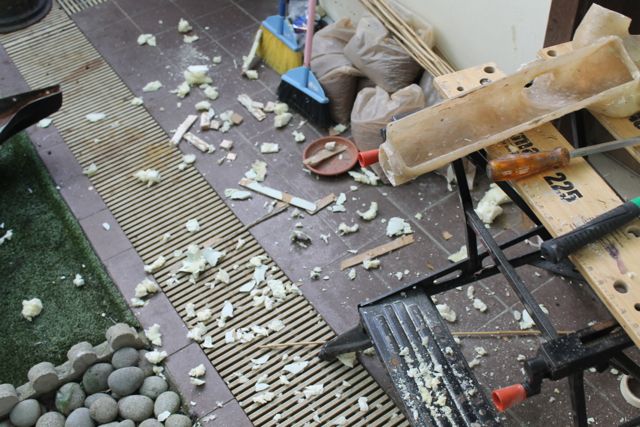
I left it for a couple of days (basically I was travelling so couldn’t do more) then started about the job of trimming and removing the foam and filler buck. Large rubber hammer, screwdrivers and wedges. It made quite a mess, but I was happy the wax and PVA did its job
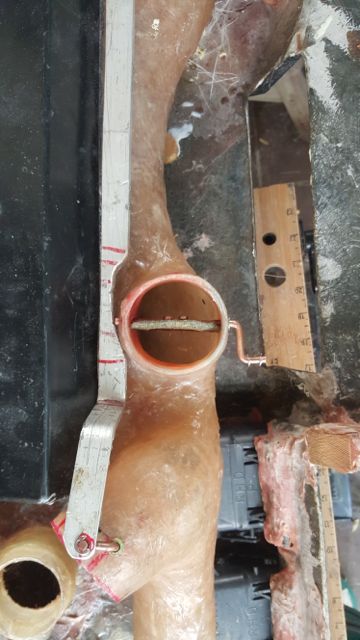
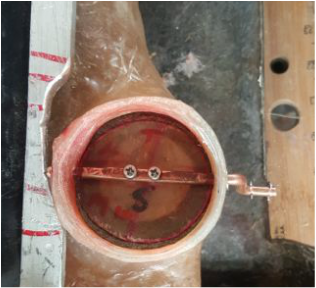
I started by making the control pivot arms for the flaps. They were made from some copper rod that I bent and beat flat with a hammer in the centre section so that I could screw them up to the flaps. I also used a dremel to grind out a channel at the end of the control arms to allow me to slip circlips on them to secure the control rod. I cut down a rivnut and slipped it on before beating the flat section. This then pushes into the fiberglass plenum chamber to secure the control arm and remove any play. Next I made up some flaps from fiberglass, they were cut to just a bit smaller than the air duct openings. I then cut and glued some felt around the edges so that when they were in the closed position the felt would provide a good seal and fill and deformities where the duct and flaps didn’t match exactly. I got the idea of using felt after pulling apart some production car HVAC systems and saw they did something similar. This also helps as the flap can sit at an angle and still seal the hole, reducing the overall distance the control arm needs to move to get it in the open position.
1 Comment
8/11/2023 05:03:58 pm
Kudos for the HVAC article! It brilliantly demystifies the complexities of heating and cooling systems. Clear, concise, and incredibly informative – a breath of fresh air in understanding home comfort. Well done! Leave a Reply. |

David SkinnerI have been living in Singapore since 1998 and I only get to go back to the UK to work on my kit car once or twice a year, so as you can imagine progress has been slow. This blog chronicles the various jobs I do on the car each trip Archives
November 2018
Categories |


 RSS Feed
