|
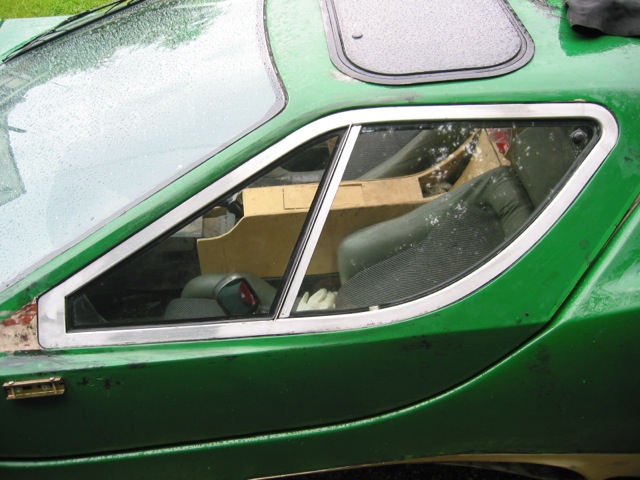
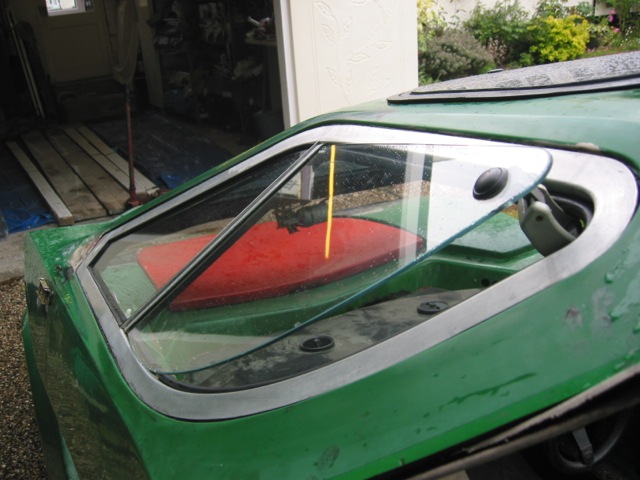
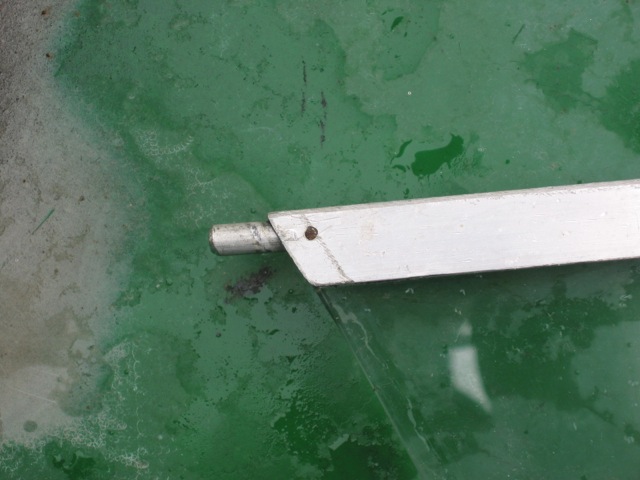
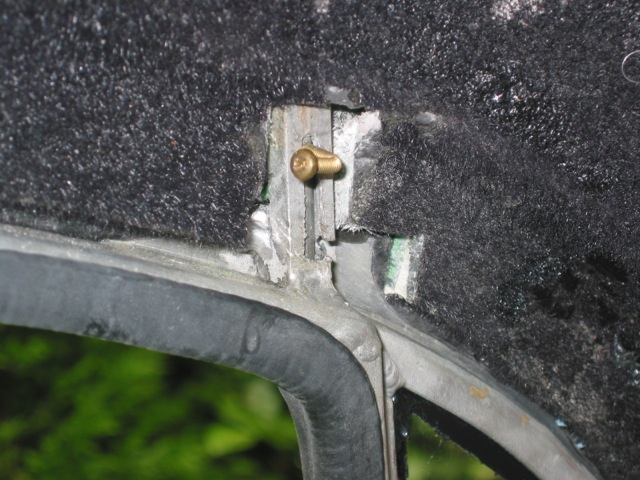
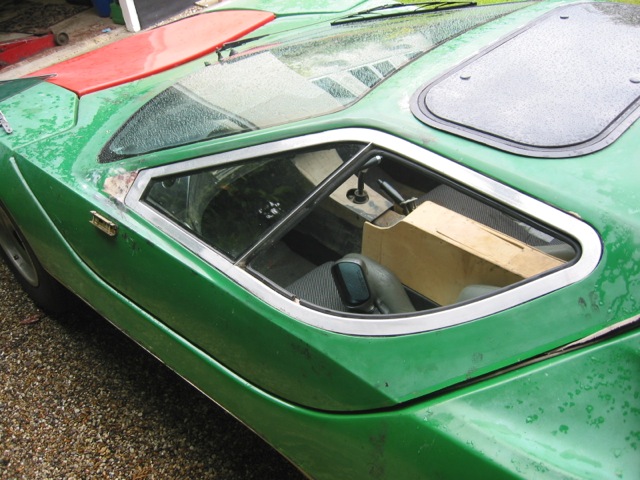
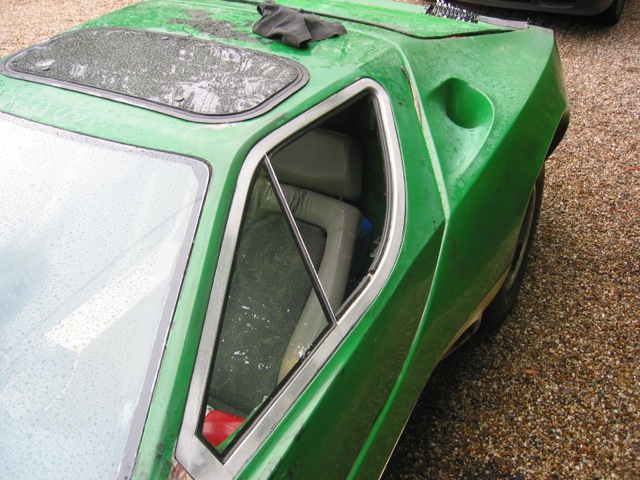
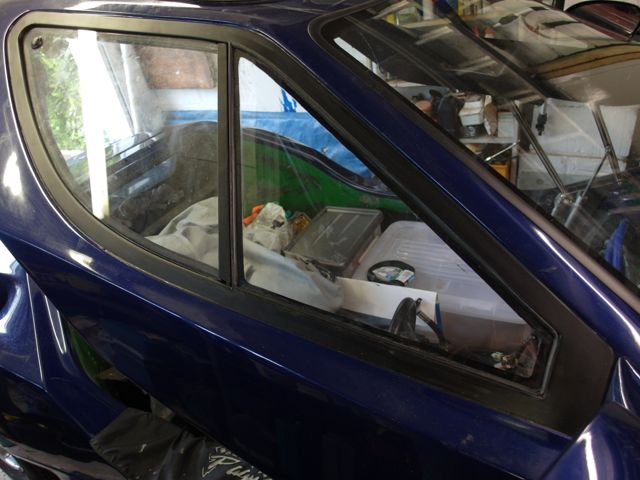
I had an aluminum frame made up to fit into the window opening. This allowed me to bond in the front glass and make the rear section removable by using a sliding pin built into the frame.
26 Comments
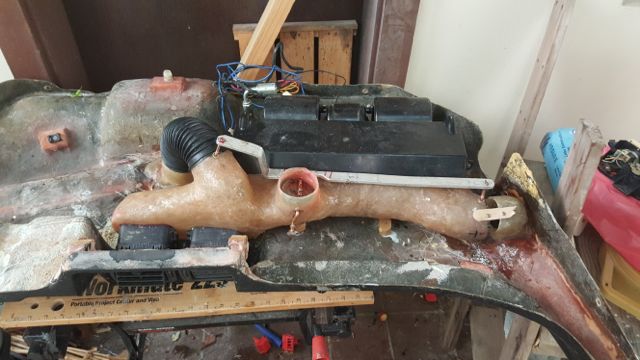
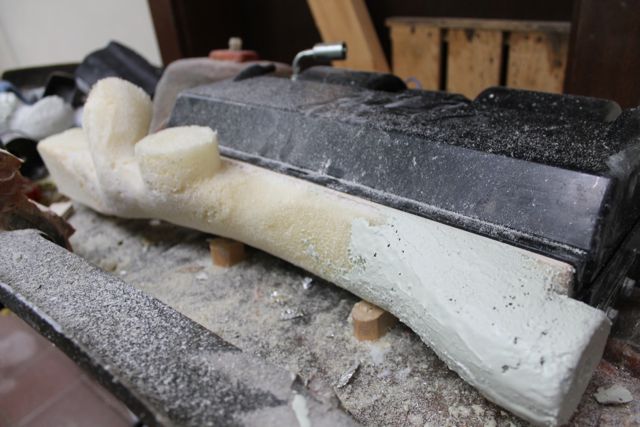
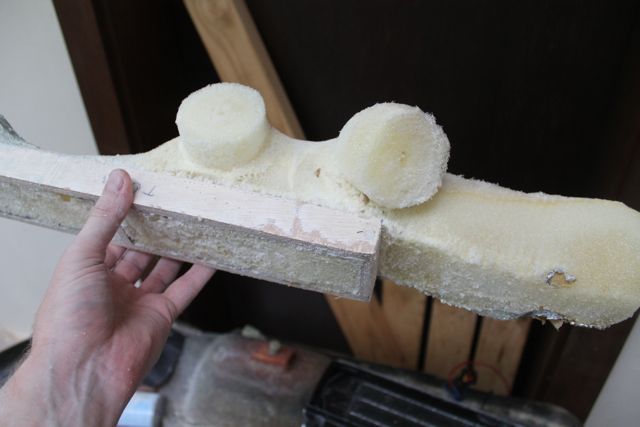
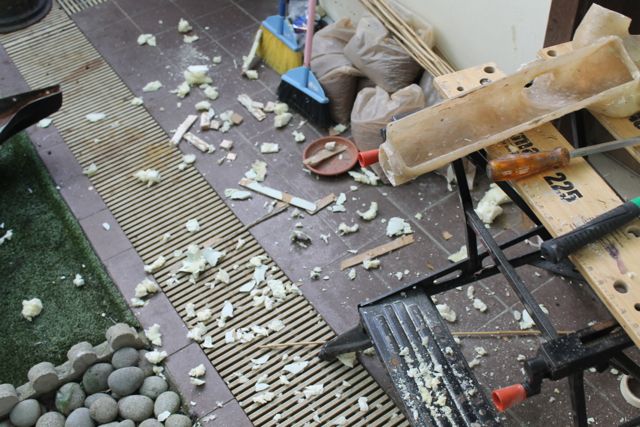
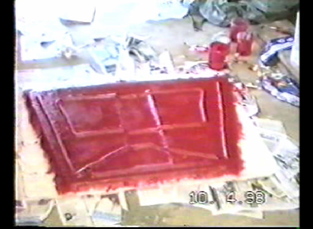
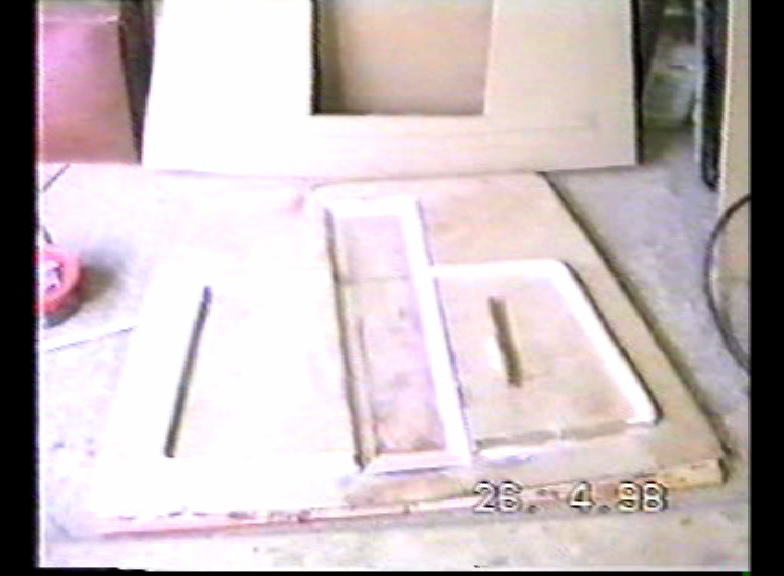
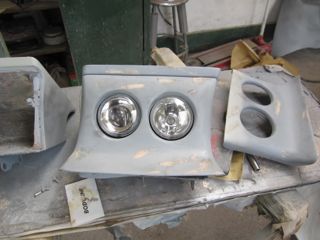
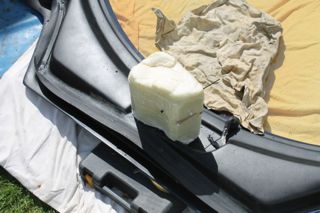
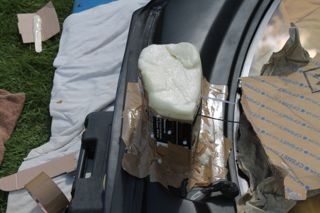
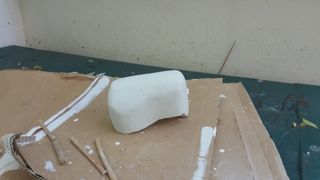
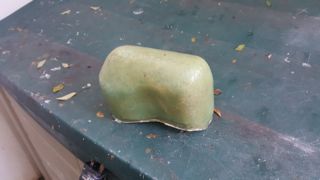
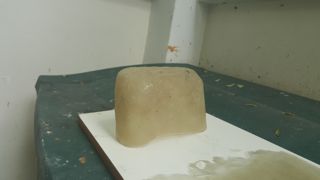
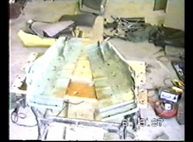
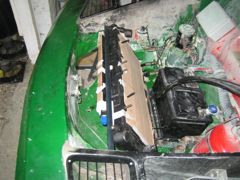
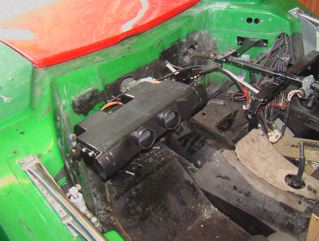
My aircon / heaters plenum chamber that came with it had the outlets in the wrong places for my air ducting. Furthermore the close proximity of the central vents meant that bending ducting around would have meant the angles were too tight and possibly compromise the airflow and I wanted lots of airflow to the 2 central air vents. So having been inspired by Brett Proctors work on the sterling site using PU foam to form bucks I thought I would have a go. I used 2 part PU foam to expand to the basic shape and then carved / sanded it to the shape I wanted. I then used normal car body filler to cover the foam once I was happy with it. In this shot I have started to put body filler on one end even though I was still shaping the other end (basically experimenting). Oh yeah, the shots are with the dashboard upside down, with little blocks of wood that are supposed to position the heater / aircon unit where it would be once mounted in the car......and if I got that bit wrong then I'm going to have a lot of rework to do later!
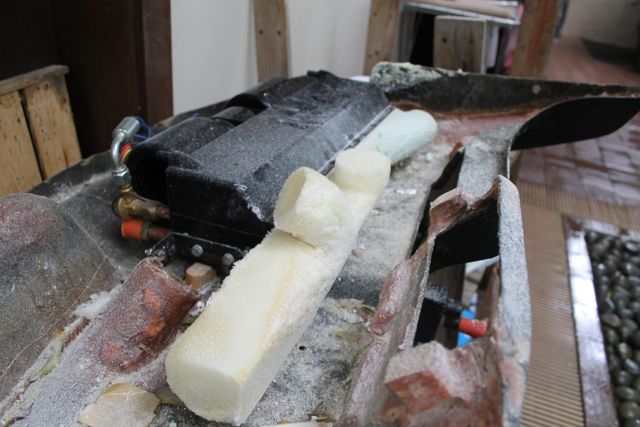
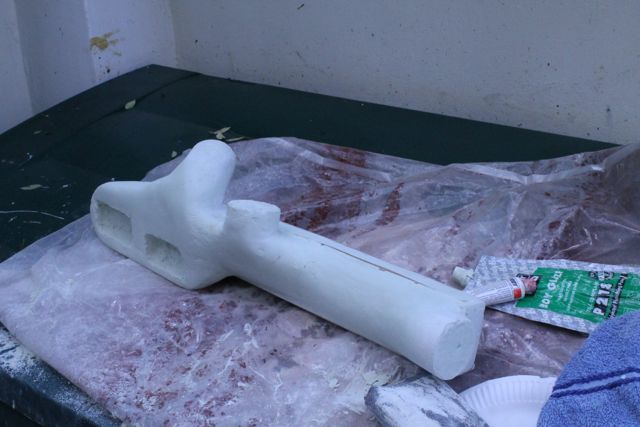
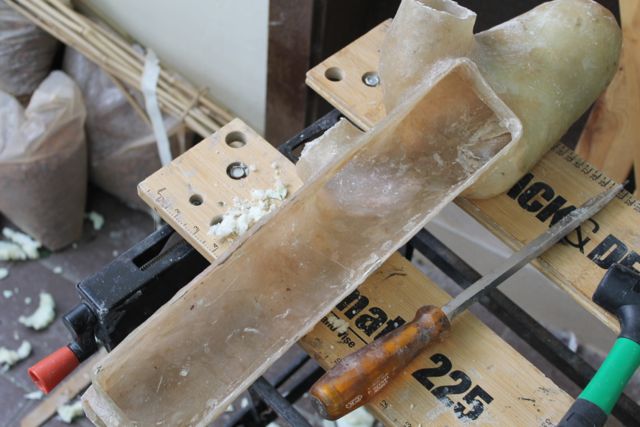
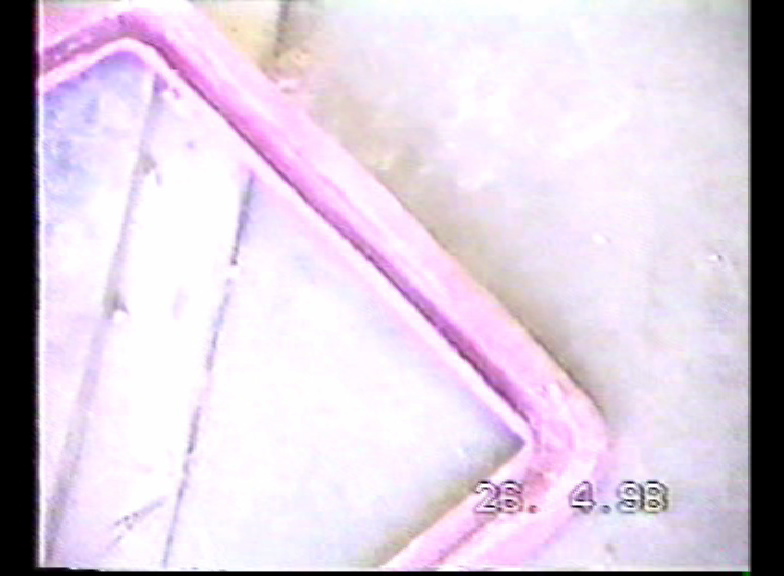
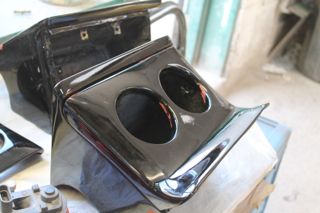
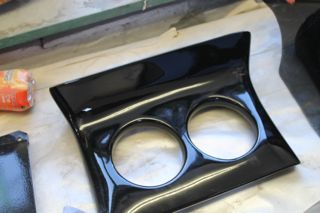
I made a wooden frame for the front section that mounts inside the heater to ensure it fitted correctly once glassed over. Once all the shaping was done I added 2 mm thick baton to this front edge to match the aperture exactly, so that once it had fiber glass laid over it, it would tightly slip over the outer edge of the heater outlet and form a good seal.
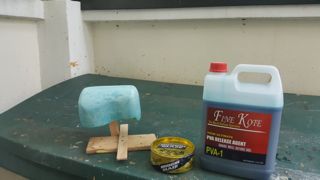
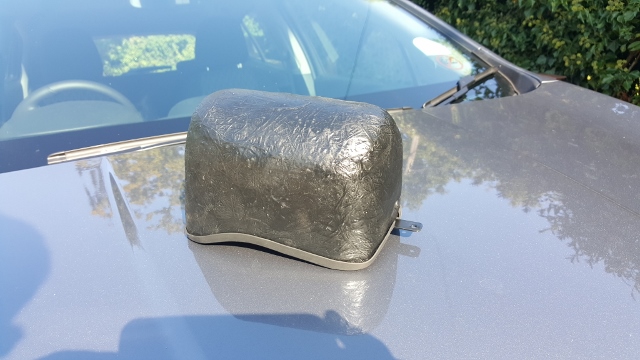
I applied mold release wax and 2 coats of PVA release agent, followed by fibreglass
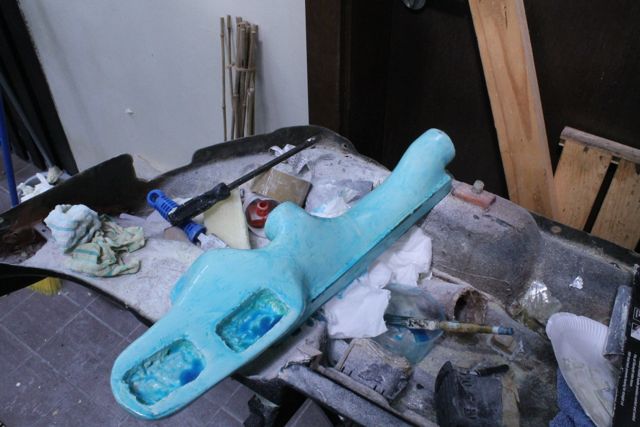
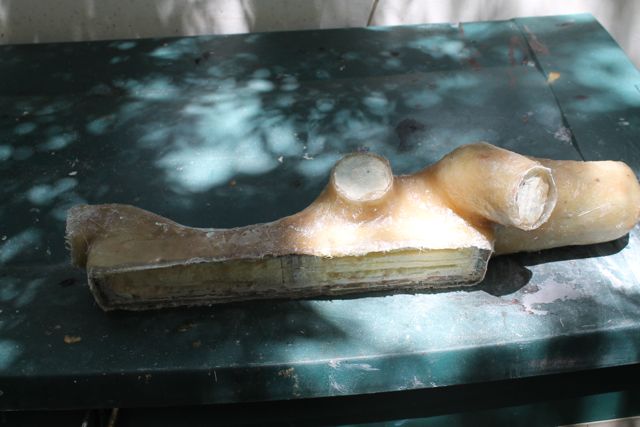
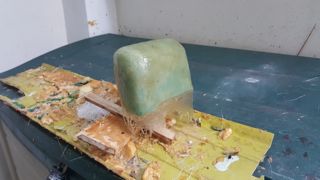
I left it for a couple of days (basically I was travelling so couldn’t do more) then started about the job of trimming and removing the foam and filler buck. Large rubber hammer, screwdrivers and wedges. It made quite a mess, but I was happy the wax and PVA did its job
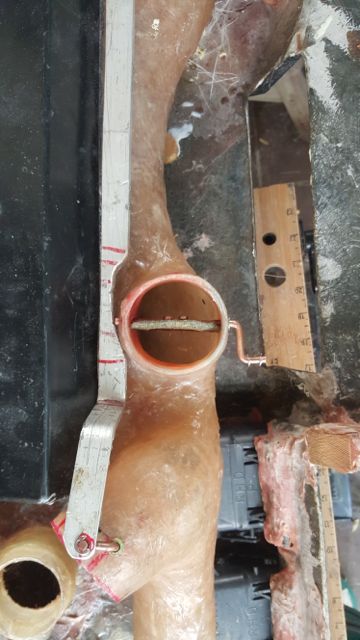
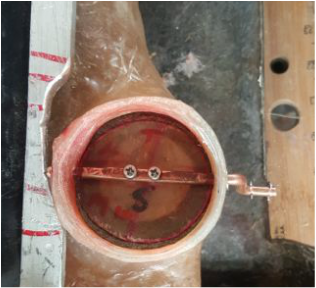
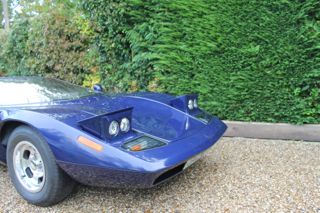
I started by making the control pivot arms for the flaps. They were made from some copper rod that I bent and beat flat with a hammer in the centre section so that I could screw them up to the flaps. I also used a dremel to grind out a channel at the end of the control arms to allow me to slip circlips on them to secure the control rod. I cut down a rivnut and slipped it on before beating the flat section. This then pushes into the fiberglass plenum chamber to secure the control arm and remove any play. Next I made up some flaps from fiberglass, they were cut to just a bit smaller than the air duct openings. I then cut and glued some felt around the edges so that when they were in the closed position the felt would provide a good seal and fill and deformities where the duct and flaps didn’t match exactly. I got the idea of using felt after pulling apart some production car HVAC systems and saw they did something similar. This also helps as the flap can sit at an angle and still seal the hole, reducing the overall distance the control arm needs to move to get it in the open position.
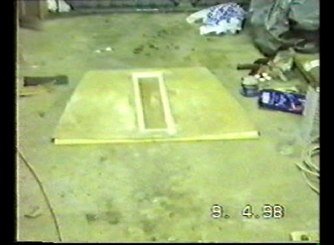
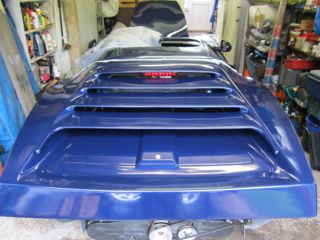
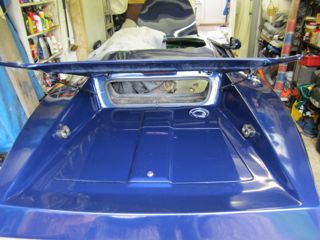
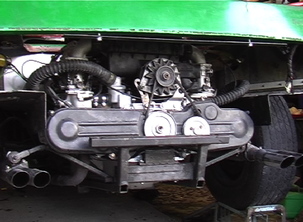
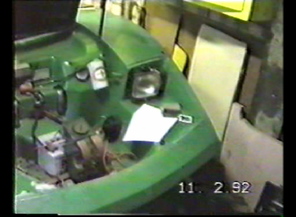
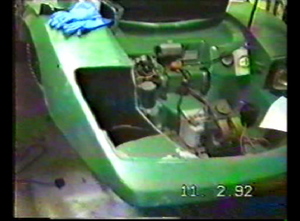
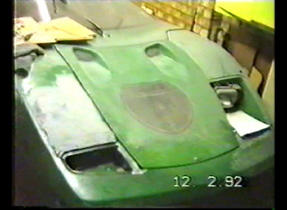
 Since I no longer had a VW engine and the Alfa unit was lower I didn't need the ugly engine cover I purchased. So I set about making a mold out of wood to replace it with a complete new full size cover and new engine lid. Most of the photos were extracted from old VHS tape so excuse the poor quality images.
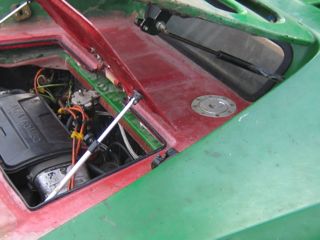
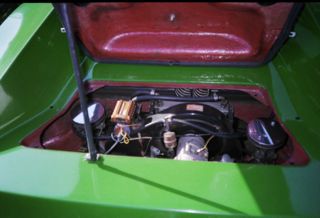
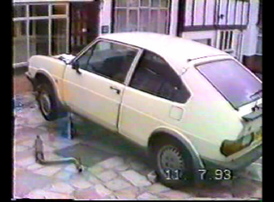
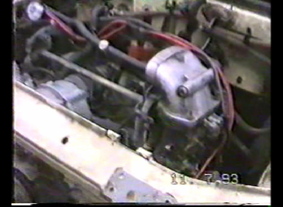
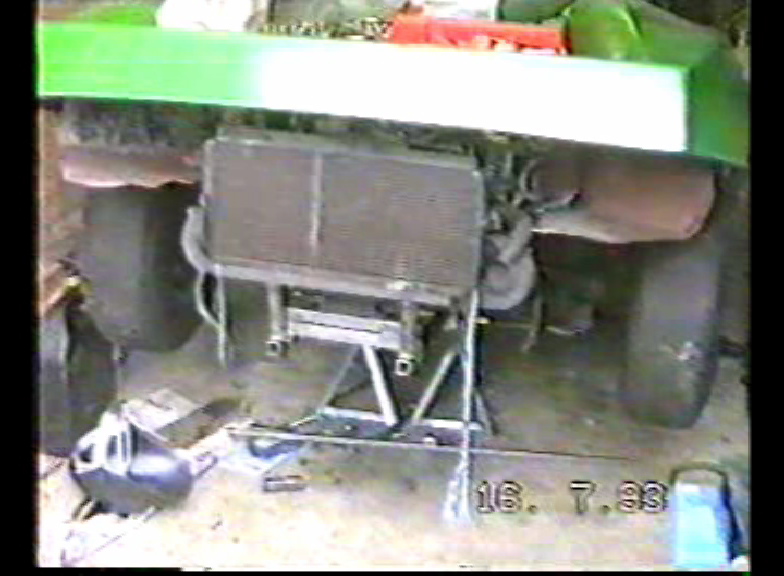
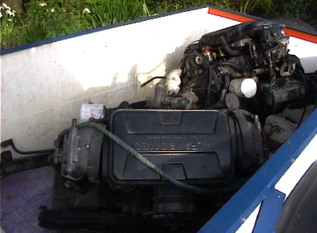
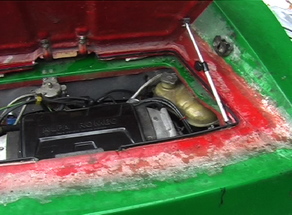
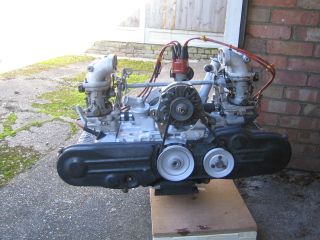
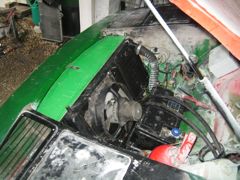
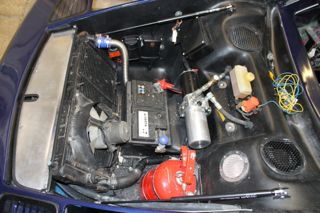
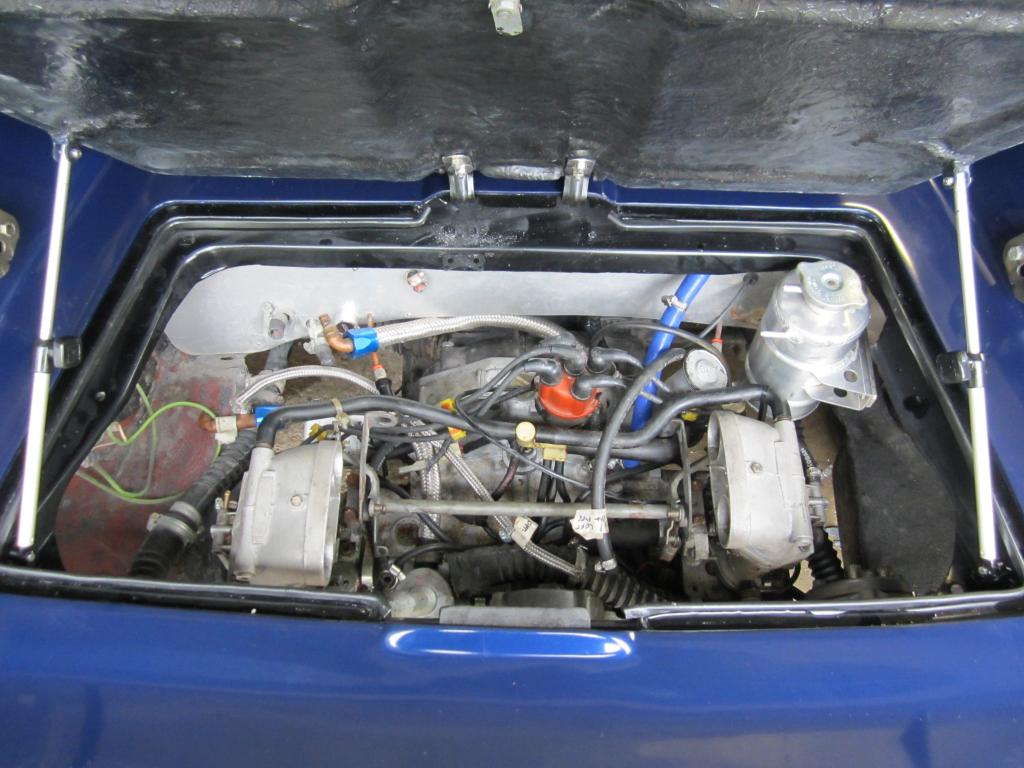
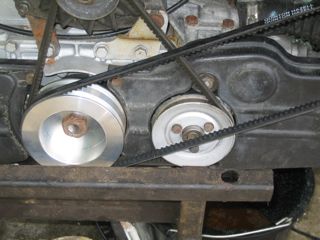
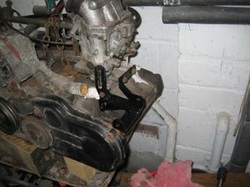
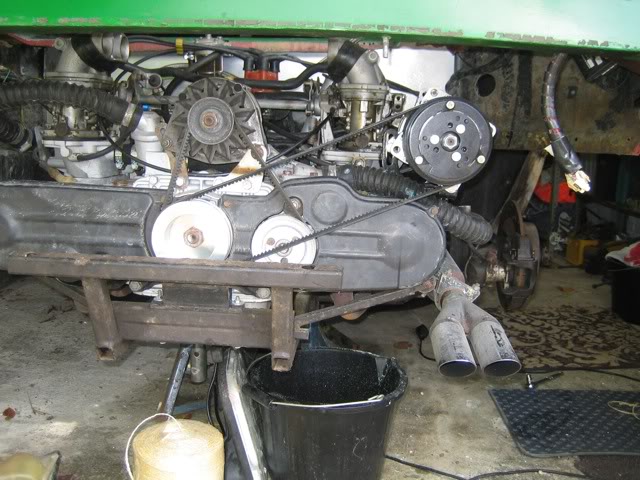
  When I first got my Nova it had a tuned 1.6 L Dual Carb VW Beetle Engine. It wasn't really designed for high revs and self destructed on the motorway when I pushed it a little too hard. I rebuilt it and only after a relatively short space of time I managed to repeat the incident and blew up my second beetle engine! It was after this I decided that a change was needed and started looking for alternatives. I was offered a 1.5TI Alfasud by a friend for nothing, it wasn't taxed and MOT'd and had sat in his garage for many years. So in the dead of night I drove it home, and by the next morning the engine was removed and ready to be placed in my Nova using a Kennedy Adapter plate to mate it to the beetle gearbox. After a couple of years I was offered two other engines, one Alfa 33 1.7L QV Cloverleaf and another Alfa 1.5L TI that had been tuned and used in rally cross. I opted to fit the 1.7L QV Cloverleaf. I ran this for a couple of years then took it out and sent it for a full rebuild. This is the same engine that is still in the car todat
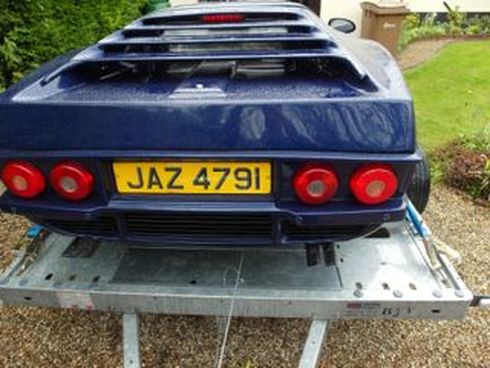
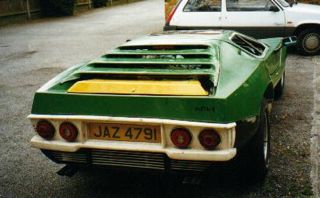
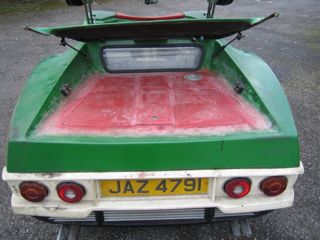
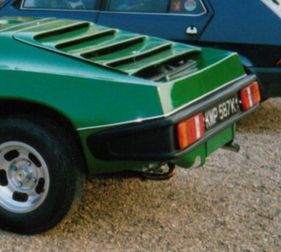
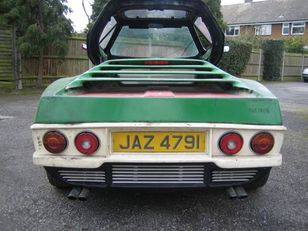
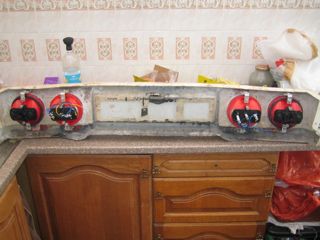
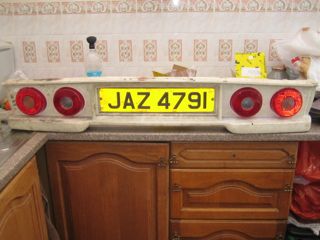
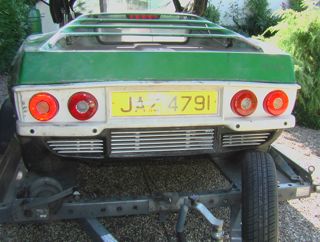
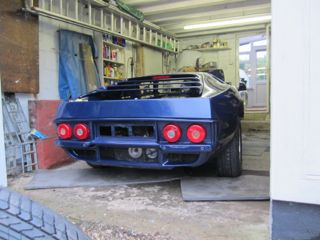
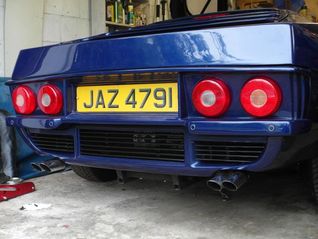
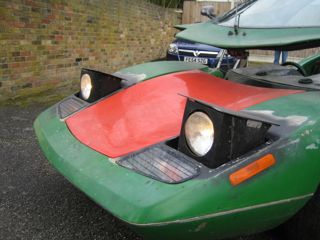
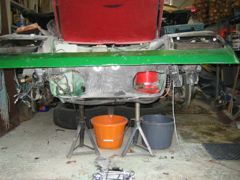
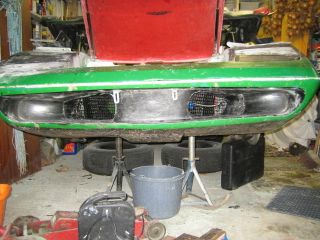
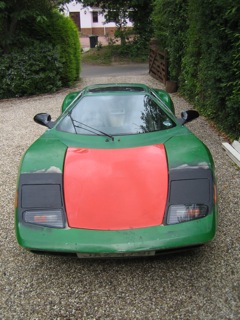
I never liked the rear and and wrap around bumper of the MK 2 Nova's, so I set about changing it to a Mark 3 rear end. This was originally designed for Opel Manta round lights, which I had originally fitted. Subsequently I changed these out for new Ferarri 355 round lights as the Opel Manta lights were cracked and looked very weathered and dated. I also made up some aluminum slats for the lower section to break up the overall space and make it look more interesting. Then finished the look off with some twin slash cut chrome exhausts
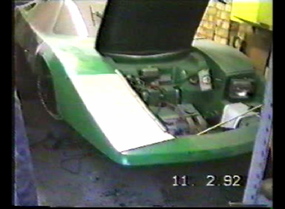
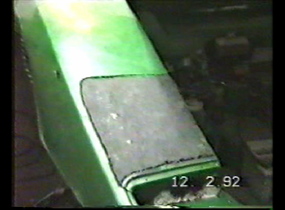
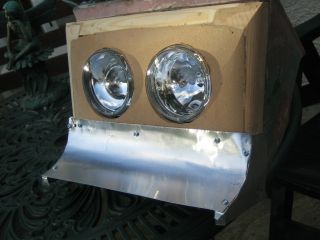
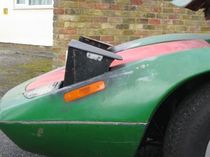
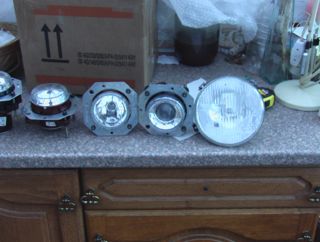
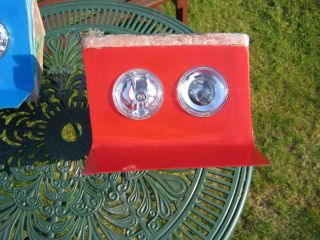
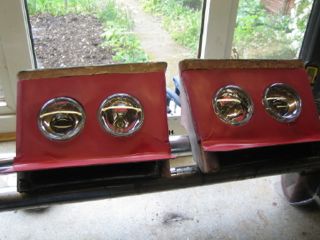
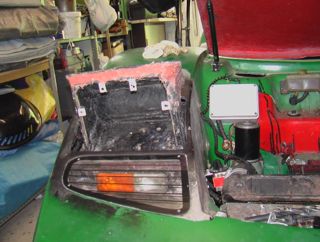
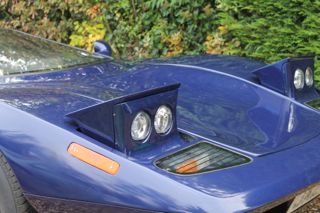
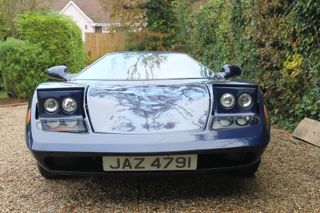
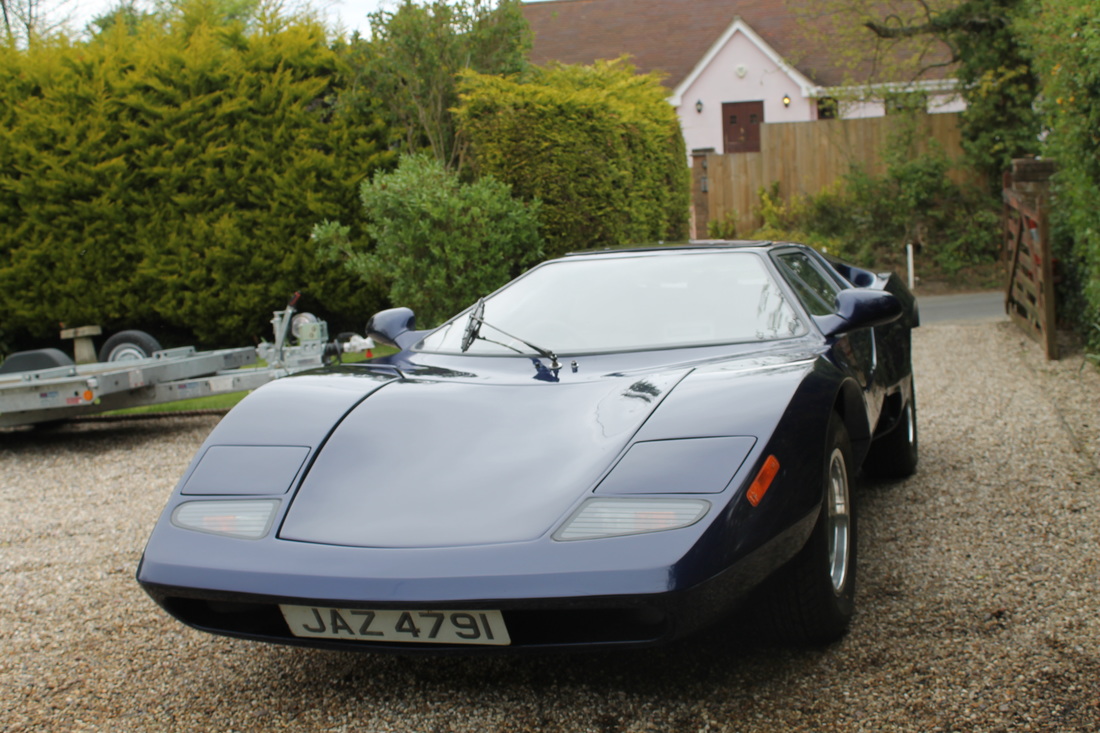
Making the pop-up lights was probably one of my most frustrating challenges of the rebuild. The old lights under the perspex covers were ineffective as they were too low down and the perspex covers diffused the light, plus I wanted the look of pop-up lights. This is a job I did, then redid at least 3 times until I got to where I was happy with them (eventually). Some of the photos were extracted from old VHS tape so the quality is not great.
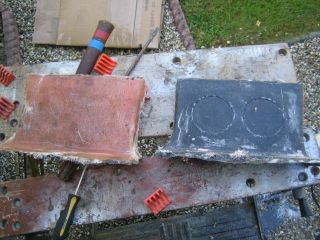
Next I tried to make covers out of perspex, again another failure. I then tried to take a mold from them, with poor results.
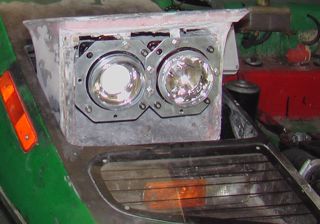
Finally I modified the main pop-up box with fibreglass filler, then used high density foam to shape the front covers. I laid fibreglass over this and sanded it down
After lots of trial and error I was eventually happy with the end result
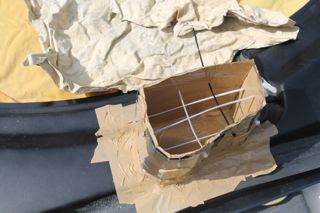
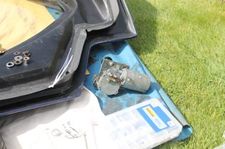
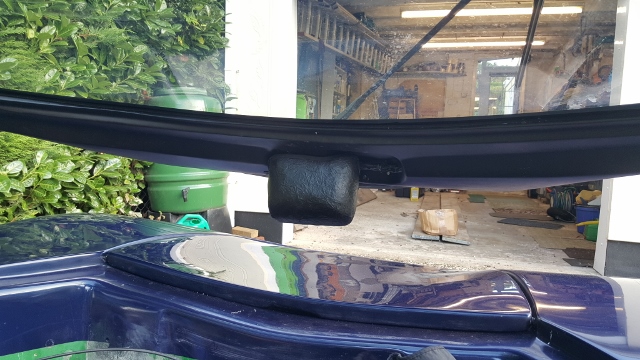
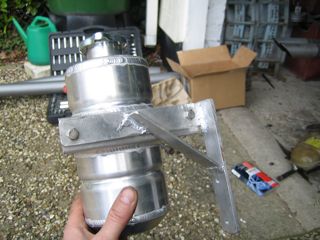
I started by using 2 part PU foam to create a basic shape for the wiper motor cover, making use of cardboard to retain the foam. I also used cable ties to mark the position of the motor so I knew when to stop cutting back when shaping the foam
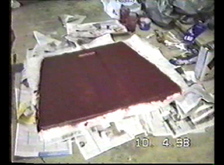
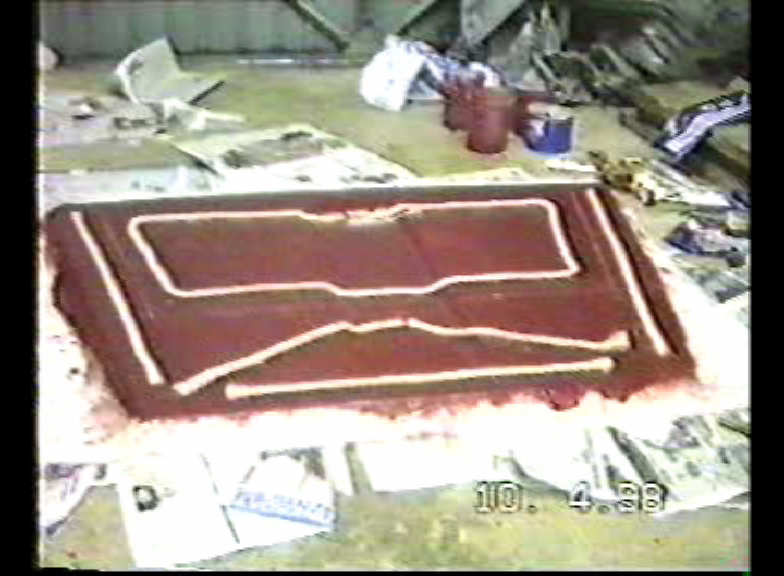
Next I covered the foam I had shaped with body filler, followed by mold release wax and PVA release agent. Finally I laid down several layers of fibreglass. Then I after it cured I dug out the foam and filler to leave the fibreglass cover.
Trimmed, painted and fitted with a rubber strip to finish the edges and a couple of mounting brackets
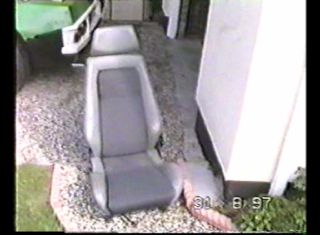
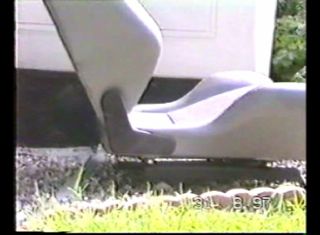
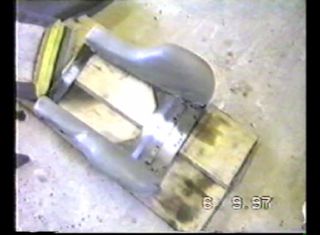
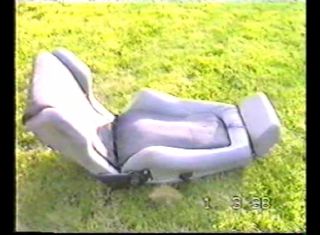
The Nova seat area is quite narrow, especially if you have dropped the floor pans. Very few (almost none) commercial reclining seats will fit in a Nova. I wanted to have recliners and found a pair of Recaro seats out of an old 3.0L Capri in the scrap yard. They were too wide to fit so I set about cutting 1 1/2 inches out of the middle and then fitting every thing back on them.
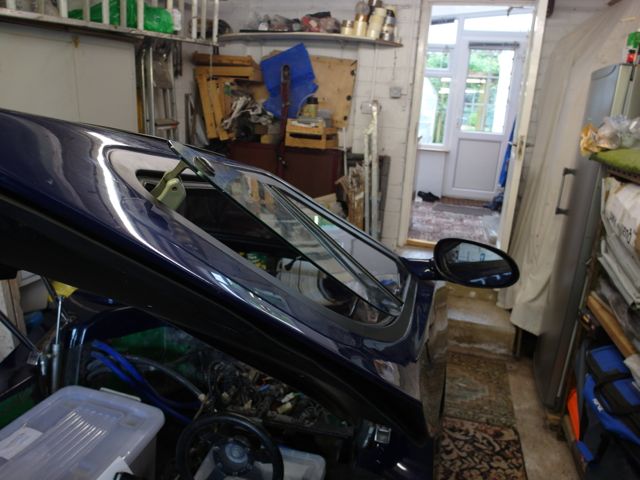
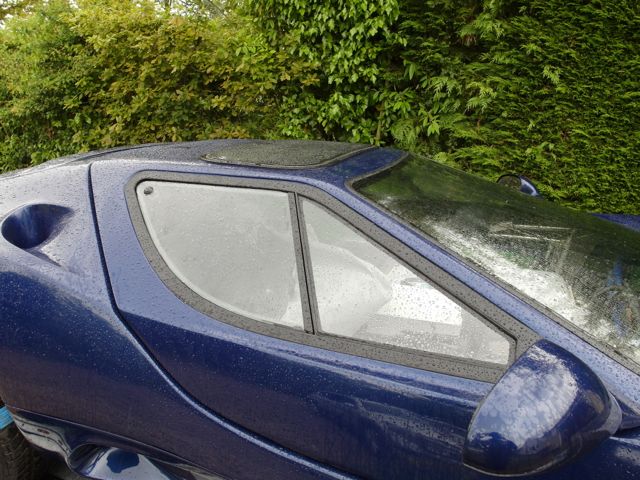
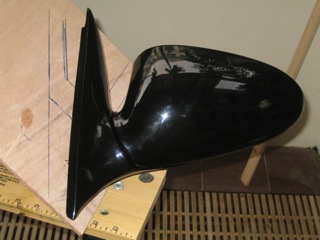
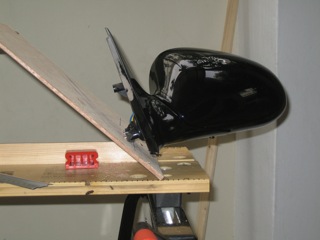
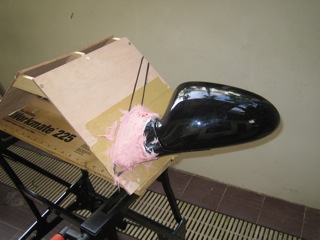
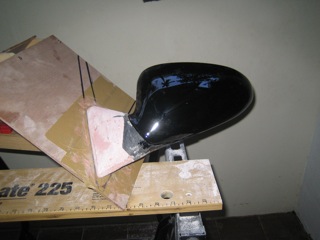
The old mirrors I have on the car which were vitaloni turbo racing mirrors looked great, but they were not adjustable and wobbled around quite a lot when driving. So I decided it was time to find a better solution that gave more visibility, were remotely adjustable and were in keeping with the lines of the car. I finally settled on the shape of Buick Regal Mirrors. These were stock items that I purchased online and had sent to Singapore from the USA to work on them initially. The mirror housing shape was good but the mirror mounting was completely wrong for the Nova, so I set about re-fabricating this. Stage 1 -The first part of the job included mocking up the car windows shape and angle of the canopy out of wood (remember I'm in Singapore and my car is in the UK). The first 2 stages were completed in Singapore. Stage 2 - I mounted the mirror at the correct angle to the ground and cut away much of the original mount. I then used fibreglass filler to mock up the new mount shape to conform to the pattern of the window line. This stage also involved embedding new mounting points and threaded collars into the fibreglass as the original mounts were chopped away.
Stage 3 - Final fitting and shaping was done in the UK, only minor changes were needed and I was pretty happy with the result.
 |

David SkinnerI have been living in Singapore since 1998 and I only get to go back to the UK to work on my kit car once or twice a year, so as you can imagine progress has been slow. This blog chronicles the various jobs I do on the car each trip Archives
November 2018
Categories |


 RSS Feed
